
In a professional kitchen, a sparkling clean surface is more than just good presentation—it’s the first line of defence against food poisoning and a cornerstone of your business’s reputation.
Here’s a sobering fact: The Food Standards Agency estimates there are 2.4 million cases of foodborne illness in the UK each year. A significant portion of these can be traced back to cross-contamination from poorly cleaned surfaces and equipment.
Whether it’s Campylobacter, E. coli, or any other nasty pathogen, inadequate cleaning puts your customers at risk, exposes you to legal penalties, and can tank your food hygiene rating faster than you can say “Environmental Health Officer.”
But here’s the good news.
Following a simple, methodical process is the key to getting it right every time. That’s why every food professional must master the essential four-stage cleaning method. It’s not just best practice—under the Food Safety Act 1990 and specific food hygiene regulations, it’s the law.
The Four Stages of Cleaning
Let me walk you through each stage. Miss one, and you’re essentially inviting bacteria to set up camp in your kitchen.
Stage 1: Pre-Clean
What it is: The physical removal of loose food debris, crumbs, and dirt. This involves scraping, wiping with a disposable cloth, or giving items a quick rinse.
Why it’s vital: Here’s the thing—sanitisers and detergents are powerful, but they’re not miracle workers. They cannot penetrate through a layer of old food or congealed grease. If you skip this stage, you’re essentially wasting your chemicals and your time.
Think of it like trying to wash a car that’s caked in mud without hosing it down first. You’d just be spreading the muck around.
Key Action:
- Scrape plates thoroughly.
- Wipe down surfaces with a dry or damp disposable cloth.
- Remove all visible food particles before even thinking about reaching for your cleaning chemicals.
A Quick Word on Colour-Coding
This is the perfect point to reinforce your colour-coding system. Using different coloured cloths, brushes, and buckets for different areas (e.g., red for raw meat areas, blue for general surfaces, green for salad and fruit prep) is a simple but incredibly effective way to prevent cross-contamination from the very first step.
Stage 2: Main Clean
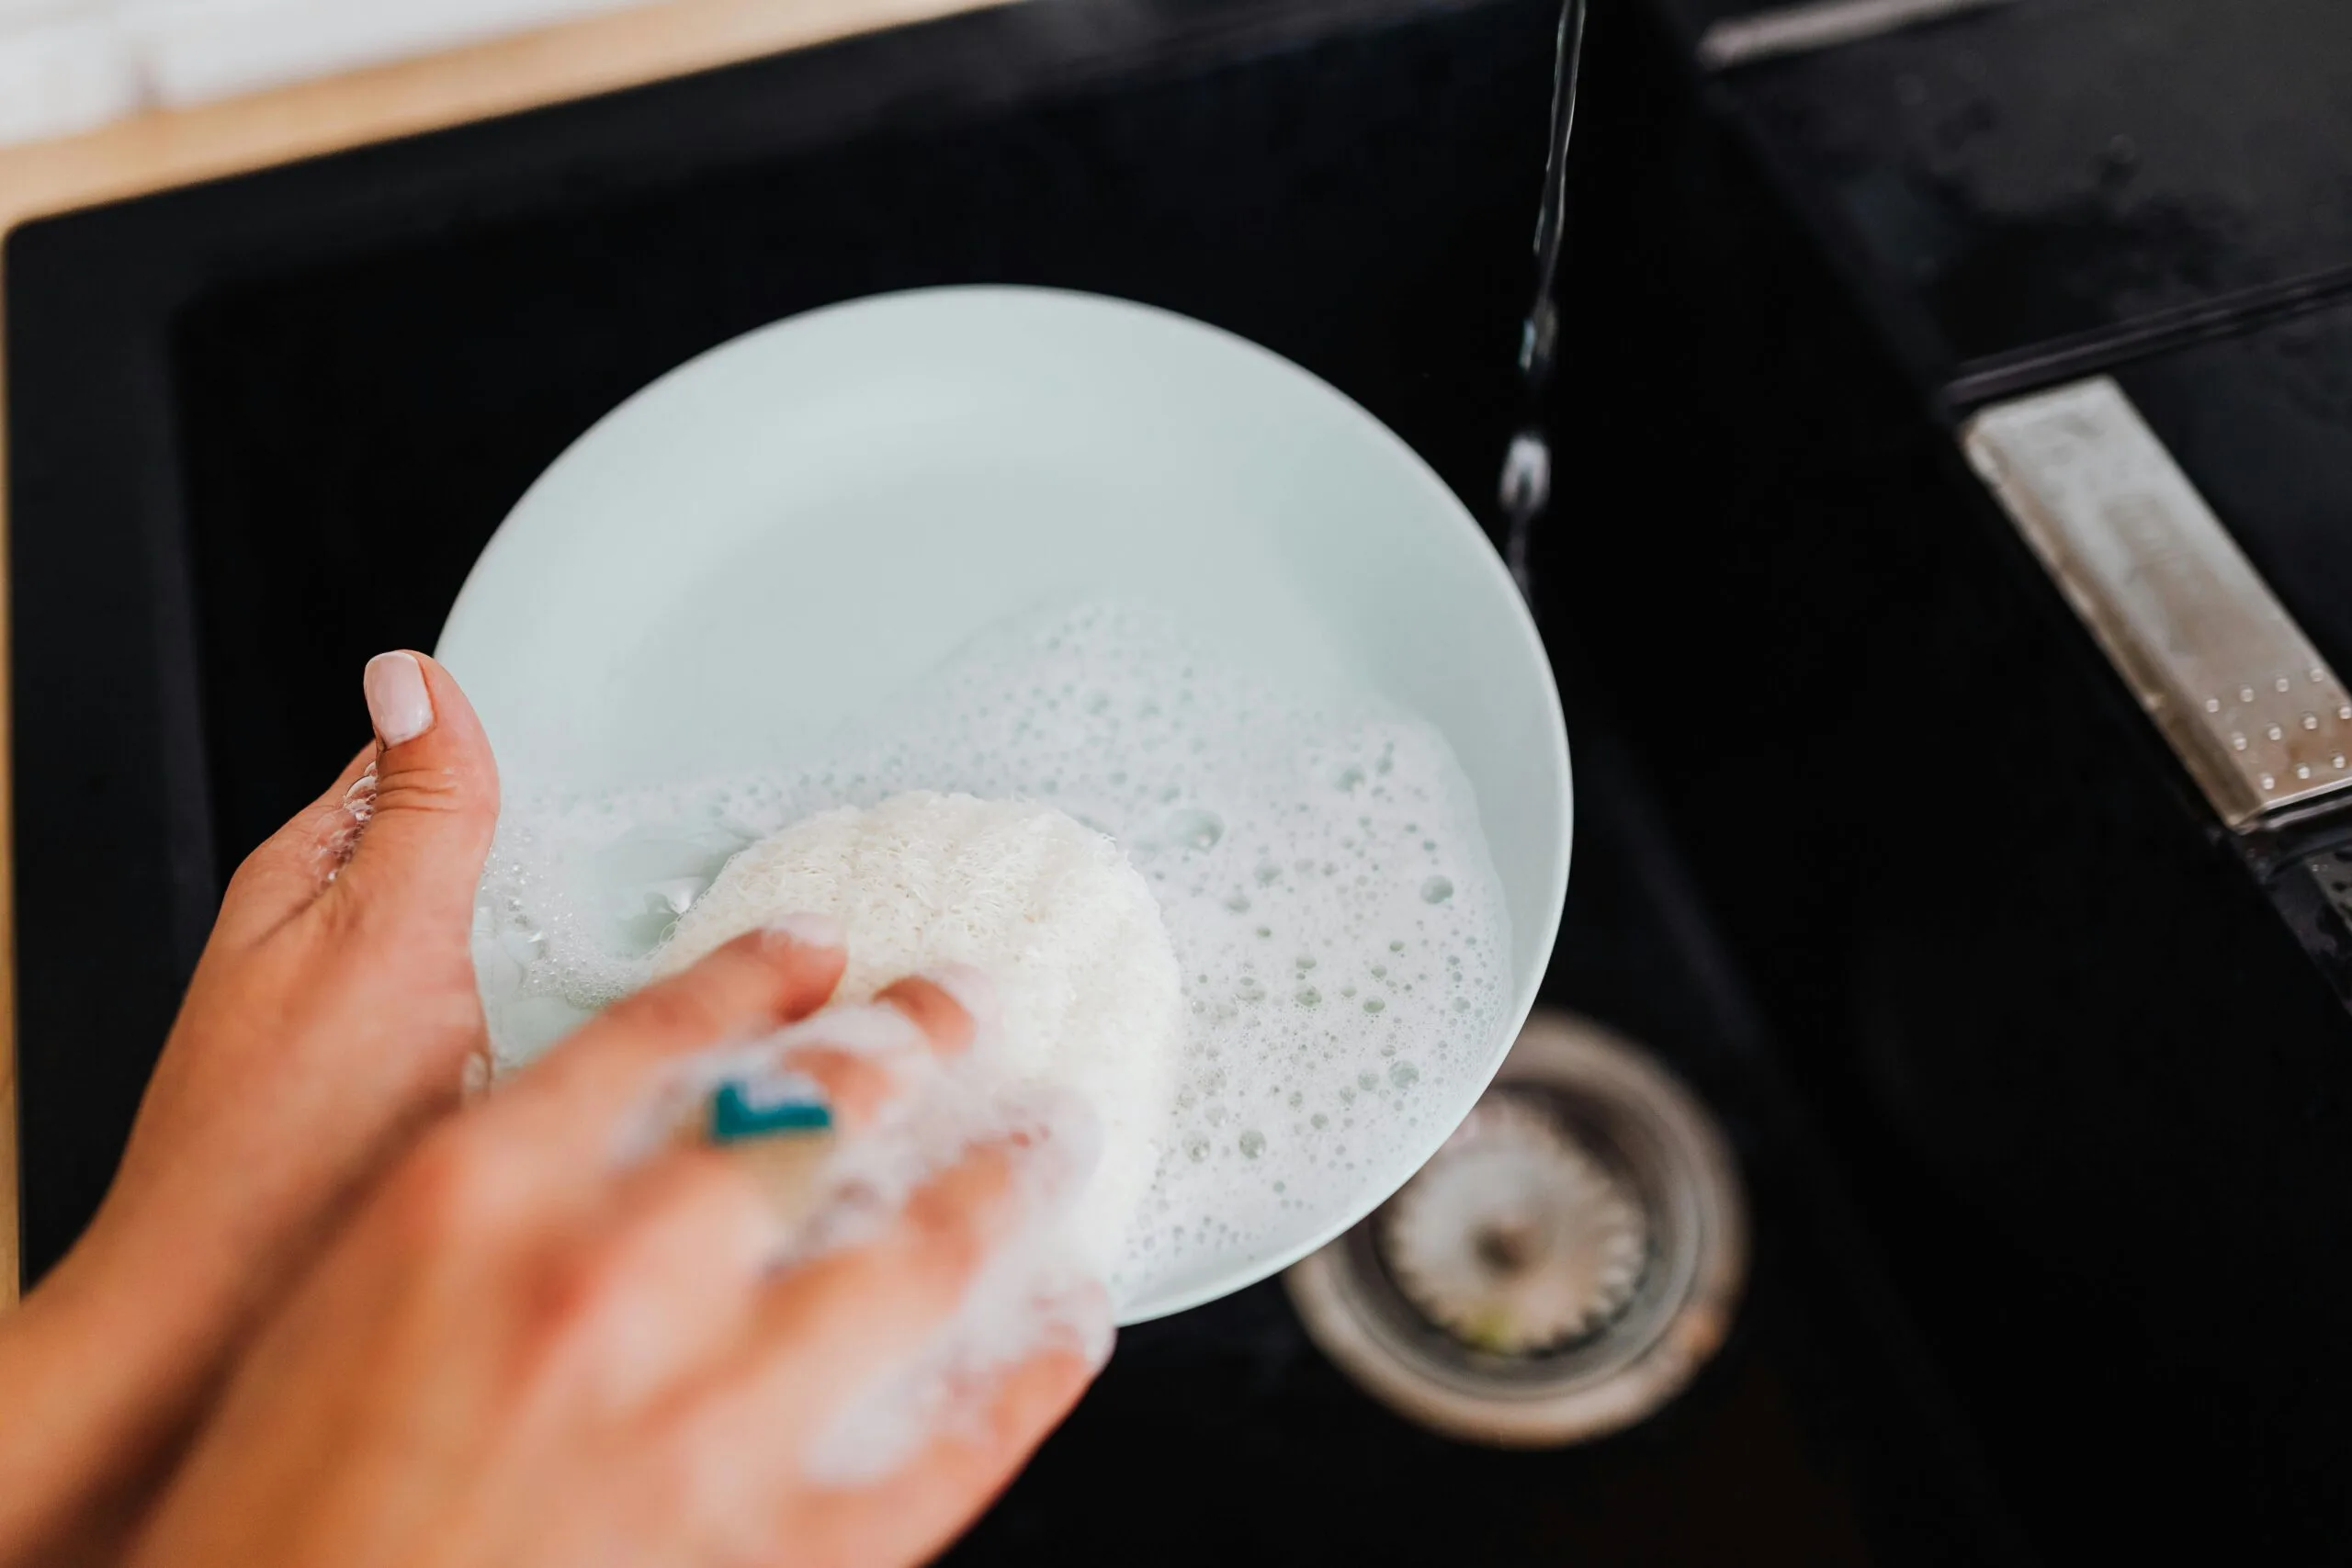
What it is: This is where you apply hot water and a suitable detergent to break down grease and lift any remaining soil that’s clinging to the surface.
Why it’s vital: Even after pre-cleaning, there’s often an invisible film of grease and organic matter harbouring bacteria. This stage tackles that stubborn layer that you can’t necessarily see but that definitely exists.
The temperature matters here. Hot water (ideally around 50-60°C) helps activate your detergent and makes grease removal far more effective. Cold water simply won’t cut through kitchen grease the way hot water will.
Key Action:
- Use a clean, designated cloth—again, colour-coded for the area you’re cleaning.
- Follow the manufacturer’s instructions for dilution rates. Don’t guess. Too weak and it won’t work; too strong and you’re wasting money and potentially creating a chemical hazard.
- Scrub thoroughly, paying particular attention to corners, crevices, and any textured surfaces where bacteria love to hide.
Stage 3: Rinse
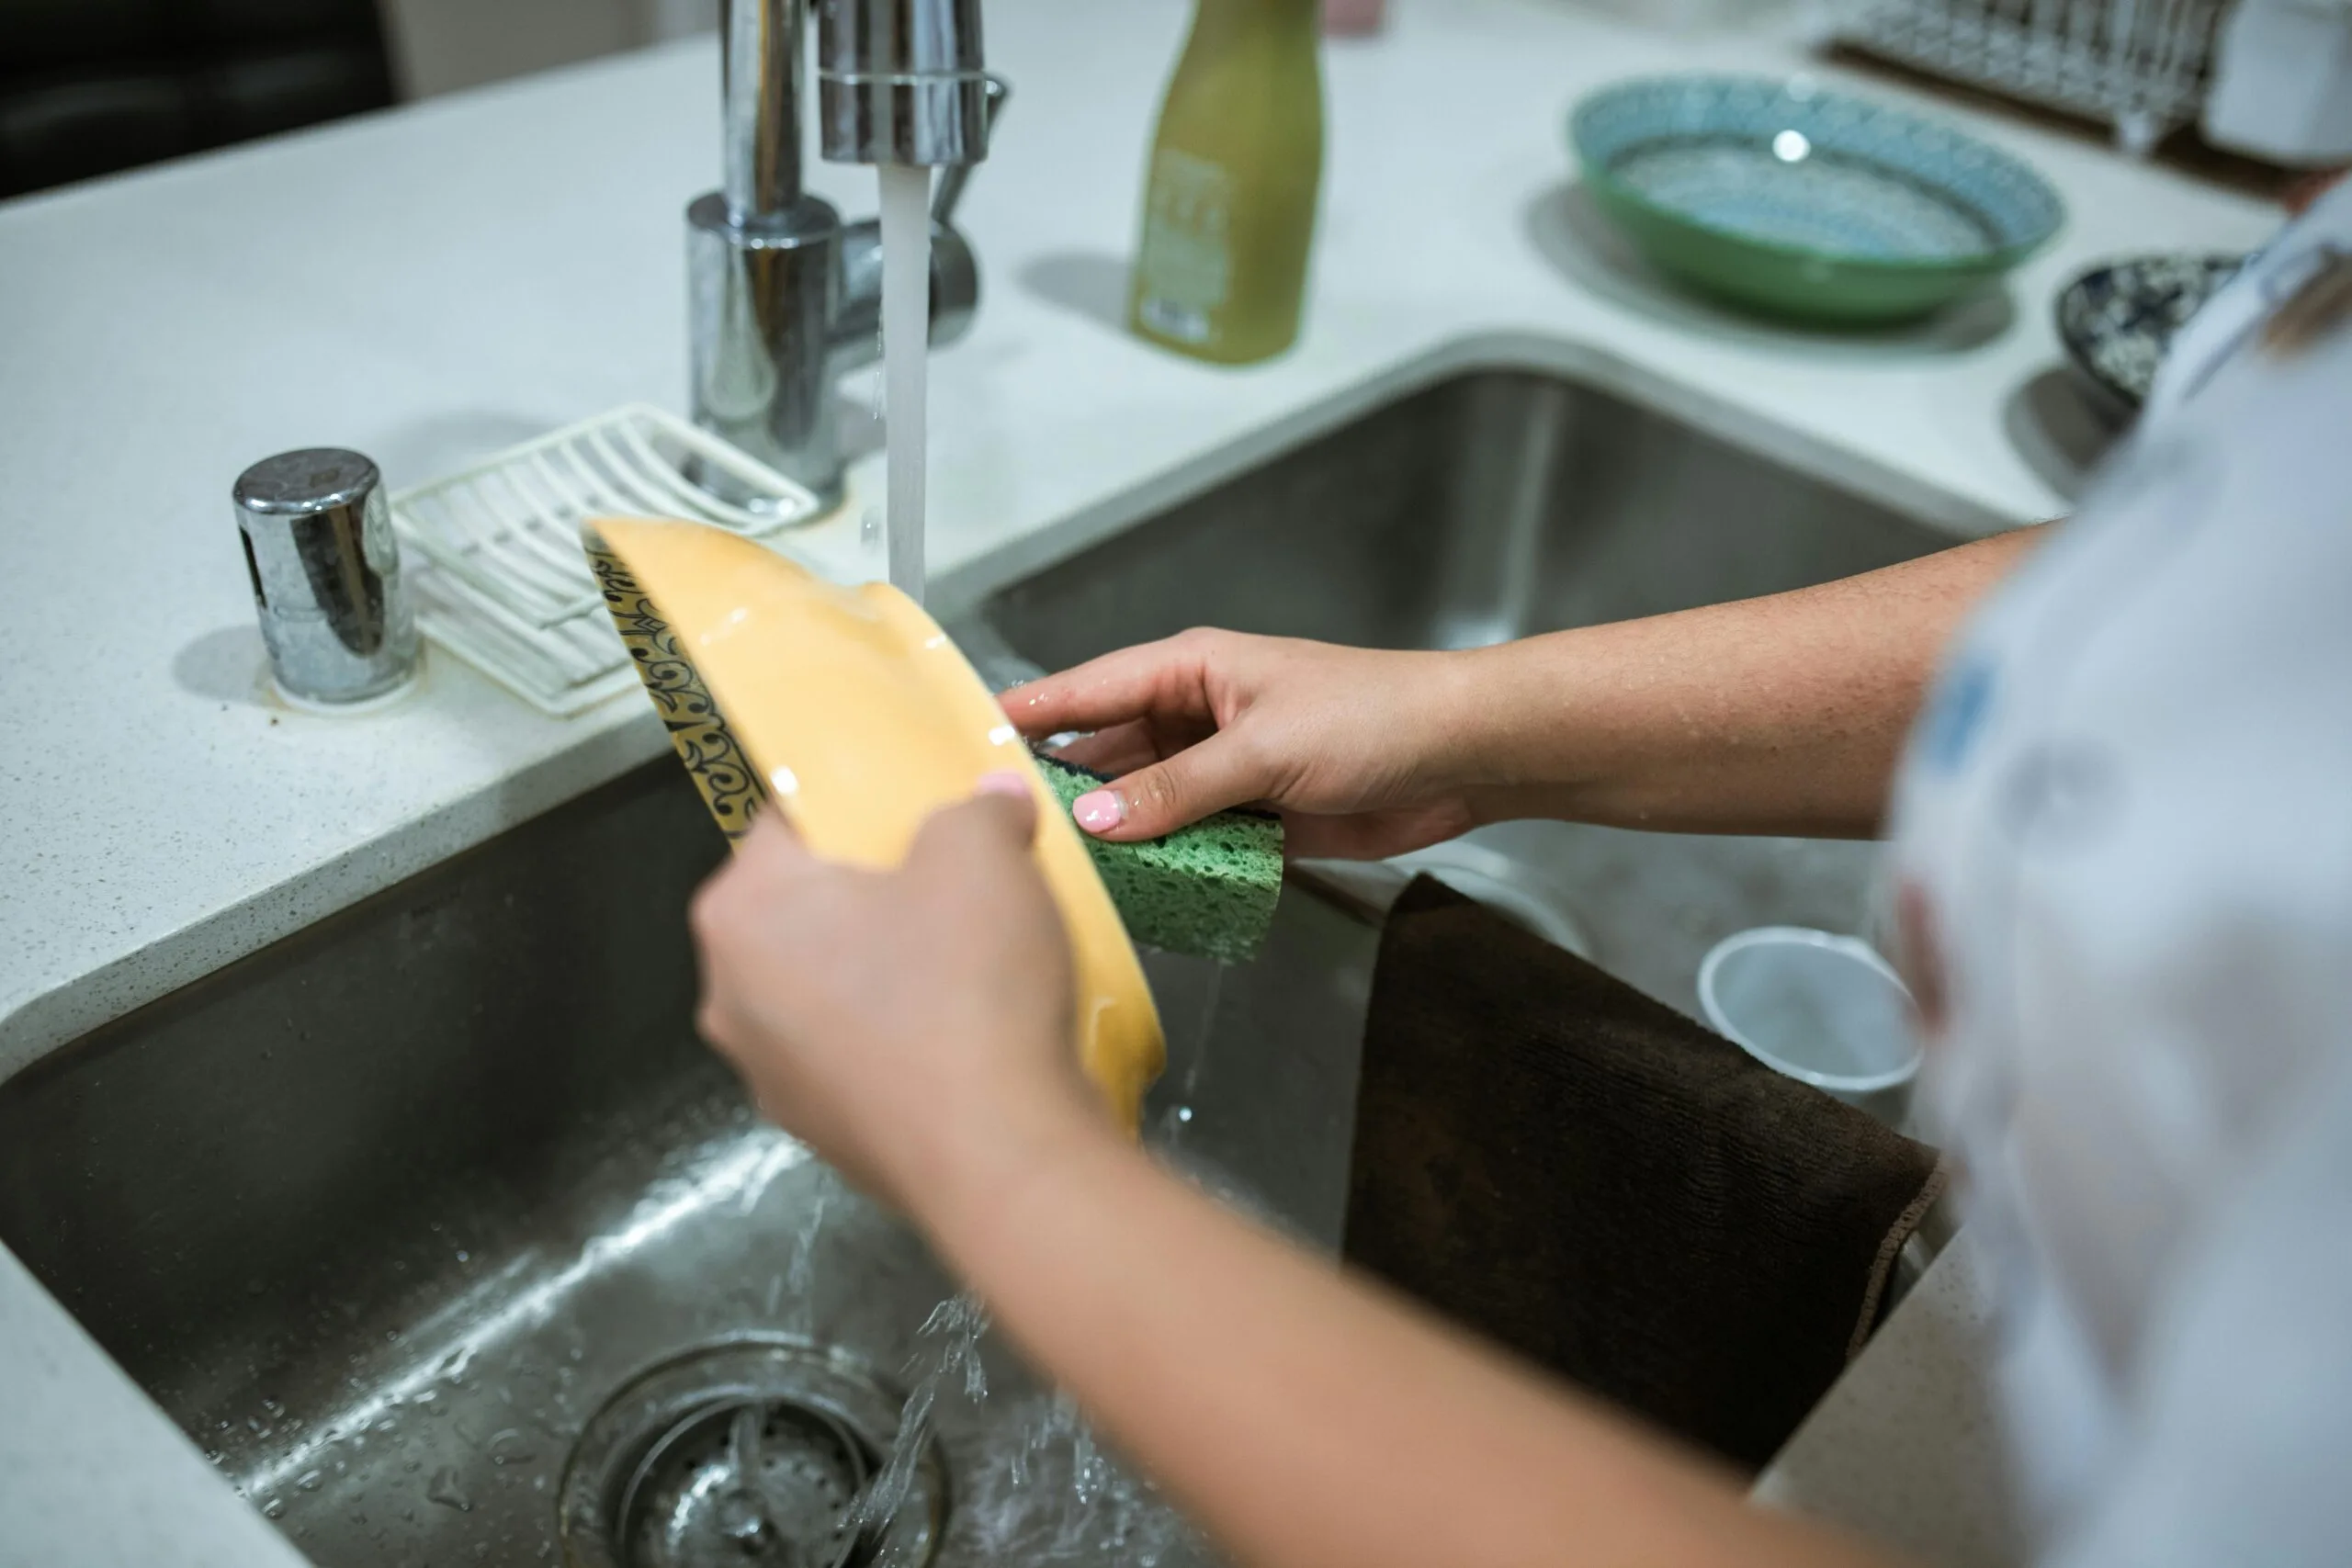
What it is: Thoroughly rinsing the surface with clean, hot water to remove all traces of detergent and loosened dirt.
Why it’s vital: This step is more crucial than most people realise. Any leftover detergent residue becomes a chemical contaminant in its own right. But more importantly, detergent residue can actually prevent your sanitiser from working properly in the next stage. It’s like putting on sunscreen over a layer of dirt—it simply won’t be effective.
Key Action:
Use plenty of clean, hot water. Ensure all suds and chemical traces are completely washed away. For equipment, you might need to rinse multiple times. Check by running your finger across the surface—if it feels slippery or soapy, keep rinsing.
Don’t rush this stage. I’ve seen countless kitchens fail inspections because staff were too hasty with rinsing.
Stage 4: Disinfection / Sanitisation
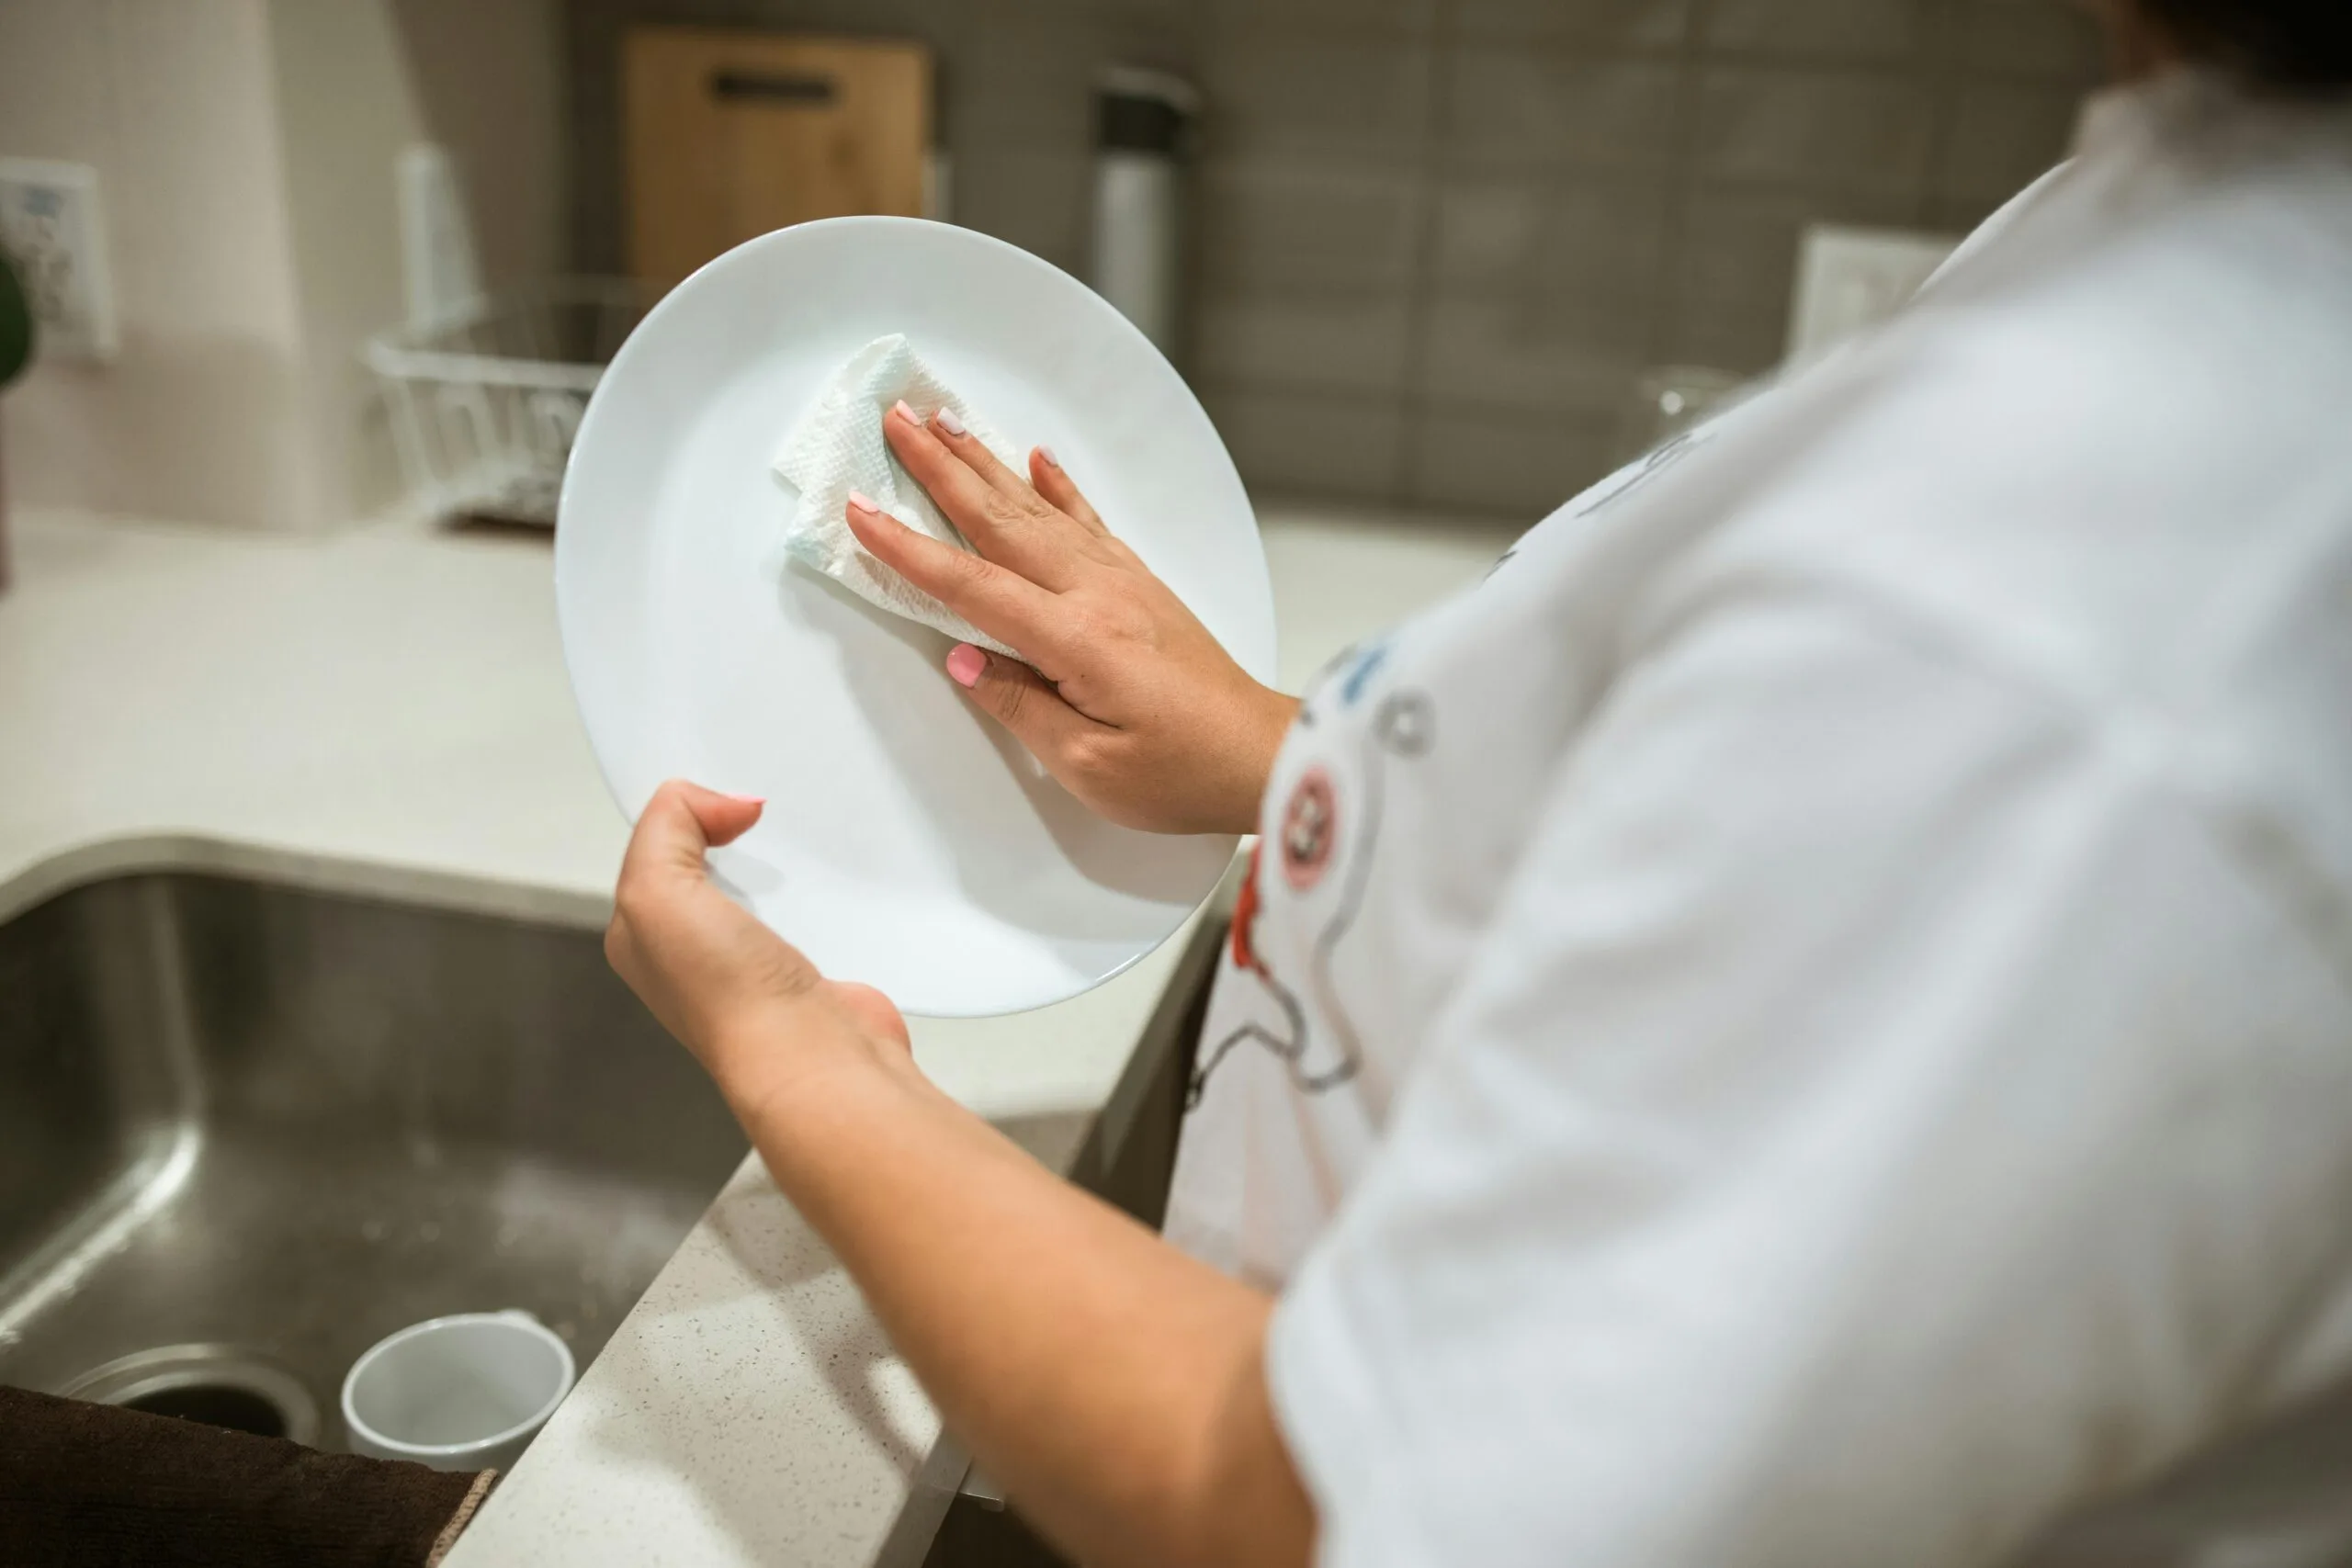
What it is: Applying a food-safe disinfectant or sanitiser to the now-clean surface.
Why it’s vital: This is where the magic happens. This is the step that actually kills invisible bacteria and reduces them to a safe level. Remember this crucial distinction: cleaning removes dirt, but disinfection kills germs.
You could have the most spotless-looking kitchen in Britain, but without this final stage, you’re still serving up a side of bacteria with every meal.
Key Action:
Use a chemical that meets standards like BS EN 1276 or BS EN 13697. These codes prove the product is effective at killing bacteria to the required level. But here’s where many kitchens go wrong: they don’t respect the two most critical factors.
First, correct dilution. Your sanitiser needs to be mixed exactly as the manufacturer specifies. Too weak and it won’t kill bacteria. Too strong and you’re not only wasting money, but you could be creating a chemical hazard.
Second, contact time. This is the bit everyone forgets. Your sanitiser needs time to work—usually between 30 seconds to 5 minutes depending on the product. Spraying and immediately wiping defeats the entire purpose. Let the chemical do its job.
Where possible, allow surfaces to air dry. This gives the sanitiser maximum contact time and prevents recontamination from cloths.
Putting It All Together: Making It Work in Practice
These four stages aren’t just a nice-to-have procedure—they should be embedded into your ‘clean as you go’ principle and documented in your formal cleaning schedule.
Every surface, every piece of equipment, every utensil that comes into contact with food needs this treatment. No exceptions. And remember, under the Control of Substances Hazardous to Health Regulations (COSHH), all staff must be trained to handle cleaning chemicals safely. That means understanding dilution rates, knowing what PPE to wear, and being aware of first aid procedures.
The Bottom Line
Let’s recap the four stages one more time:
- Pre-clean – Remove the visible debris
- Main clean – Hot water and detergent to cut through grease
- Rinse – Remove all chemical residues
- Disinfect – Kill the bacteria you can’t see
This isn’t just about ticking boxes for your next inspection. It’s about protecting every single person who eats food prepared in your kitchen. It’s about safeguarding your business’s reputation. And yes, it’s about staying on the right side of the law.
But knowledge without action is worthless.
Ensuring every member of your team understands and follows this process is fundamental. Our Level 2 Food Hygiene and Safety course provides comprehensive training on cleaning, cross-contamination, and all aspects of food safety law. It’s the baseline qualification every food handler should have legally.
For supervisors and managers responsible for implementing cleaning schedules and managing food safety, our Level 3 Food Hygiene for Supervisors course is the ideal next step. You’ll learn how to create effective cleaning schedules, monitor compliance, and build a culture of food safety in your kitchen.
Want to integrate these procedures into a formal food safety management system? Our Level 2 HACCP course shows you exactly how to identify hazards and implement control measures—with proper cleaning being a critical prerequisite.
And to ensure your team is handling cleaning products safely and legally, our COSHH Awareness course is essential. It covers everything from reading safety data sheets to proper storage and emergency procedures.
The four-stage cleaning process isn’t complicated. But it does require discipline, training, and the right mindset. Every time you clean, you’re not just making things look nice—you’re actively preventing illness and protecting lives.
Invest in training, protect your customers, and secure your reputation.
Because in food safety, there’s no such thing as “clean enough.”